Android Adding Animation Tutorial

Animation is a process of making motion and changes on the user interfaces. Therefore, Animation is important when come to create smooth screen changes to the end user so that user wont see any delay in short it improving the user experience. For android, there have many methods to implement animation such as you can implement via xml or java source code. You can control how the animation perform in the application. In this tutorial, I will teach you how to use android adding animation in your own app so you can provide better user experience to user.
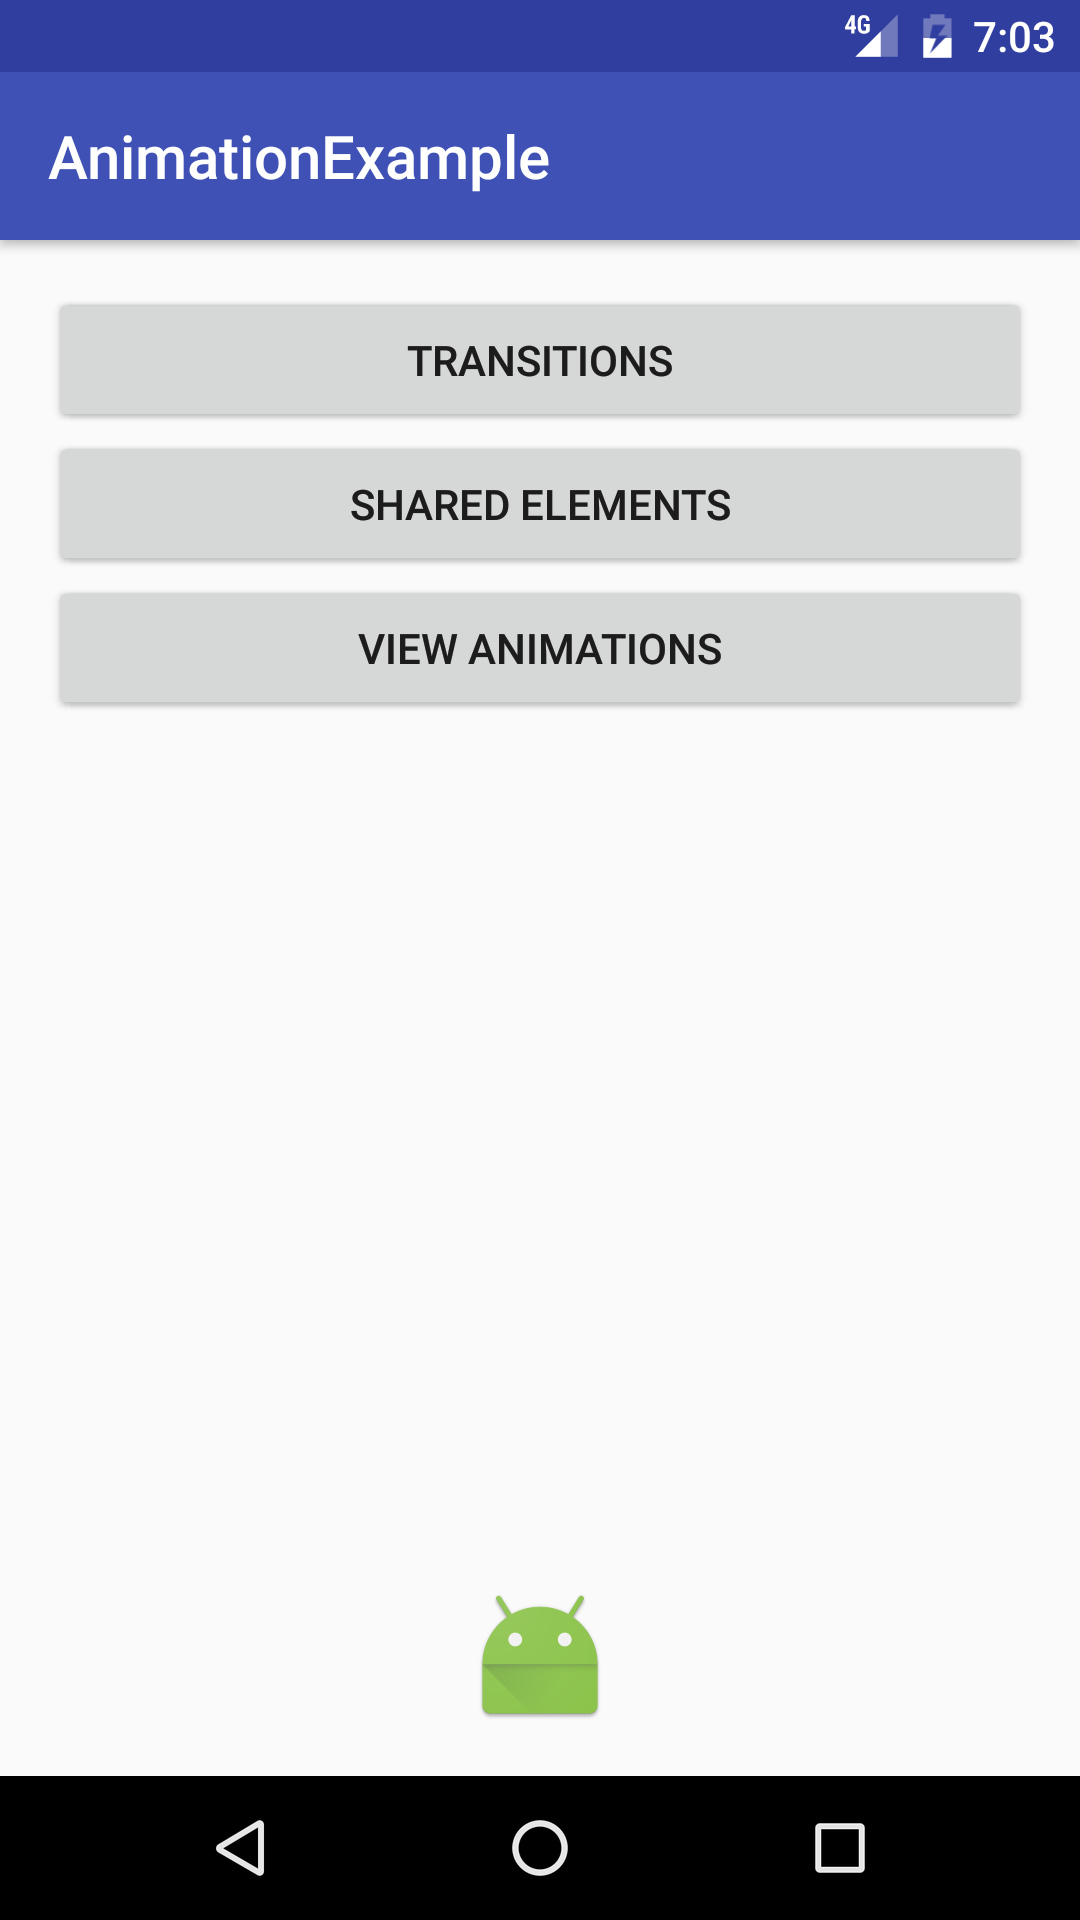
Sample Screen Android Adding Animation
Creating a New Project
1. Open Android Studio IDE in your computer.
2. Create a new project and Edit the Application name to “AnimationExample”.
(Optional) You can edit the company domain or select the suitable location for current project tutorial. Then click next button to proceed.
3. Select Minimum SDK (API 15:Android 4.0.3 (IceCreamSandwich). I choose the API 15 because many android devices currently are support more than API 15. Click Next button.
4. Choose “Empty Activity” and Click Next button
5. Lastly, press finish button.
Create 3 activity
Right click your package name and create 3 new activity which name “SharedElementActivity”, “TransitionActivity” and “ViewAnimationActivity”.
Edit activity_shared.xml layout
Go to the resource folder and edit this xml layout for SharedElementActivity. It will be add an ImageView and it must have transitionName so that can perform shared element animation later.
<?xml version="1.0" encoding="utf-8"?>
<RelativeLayout xmlns:android="http://schemas.android.com/apk/res/android"
    xmlns:app="http://schemas.android.com/apk/res-auto"
    xmlns:tools="http://schemas.android.com/tools"
    android:id="@+id/activity_shared"
    android:layout_width="match_parent"
    android:layout_height="match_parent"
    android:paddingBottom="@dimen/activity_vertical_margin"
    android:paddingLeft="@dimen/activity_horizontal_margin"
    android:paddingRight="@dimen/activity_horizontal_margin"
    android:paddingTop="@dimen/activity_vertical_margin"
    tools:context="com.questdot.animationexample.SharedElementActivity">

    <ImageView
        android:layout_width="wrap_content"
        android:layout_height="wrap_content"
        app:srcCompat="@mipmap/ic_launcher"
        android:id="@+id/imageVIew"
        android:transitionName="Transition"
        android:layout_alignParentTop="true"
        android:layout_alignParentLeft="true"
        android:layout_alignParentStart="true"
        android:layout_alignParentBottom="true"
        android:layout_alignParentRight="true"
        android:layout_alignParentEnd="true" />
</RelativeLayout>
Edit activity_view_animation.xml layout
Modify the activity_view_animation layout to the following source code. Add imageview so later can be perform some animation in this imageview.
<?xml version="1.0" encoding="utf-8"?>
<RelativeLayout xmlns:android="http://schemas.android.com/apk/res/android"
    xmlns:app="http://schemas.android.com/apk/res-auto"
    xmlns:tools="http://schemas.android.com/tools"
    android:id="@+id/activity_view_animation"
    android:layout_width="match_parent"
    android:layout_height="match_parent"
    android:paddingBottom="@dimen/activity_vertical_margin"
    android:paddingLeft="@dimen/activity_horizontal_margin"
    android:paddingRight="@dimen/activity_horizontal_margin"
    android:paddingTop="@dimen/activity_vertical_margin"
    tools:context="com.questdot.animationexample.ViewAnimationActivity">

    <ImageView
        android:layout_width="wrap_content"
        android:layout_height="wrap_content"
        app:srcCompat="@mipmap/ic_launcher"
        android:id="@+id/imageView"
        android:layout_centerVertical="true"
        android:layout_centerHorizontal="true" />

</RelativeLayout>
Edit activity_main.xml layout
Go to activity_main.xml and add 3 buttons on the layout, after that add the imageview so you can see shared element effect later.
<?xml version="1.0" encoding="utf-8"?>
<RelativeLayout xmlns:android="http://schemas.android.com/apk/res/android"
    xmlns:app="http://schemas.android.com/apk/res-auto"
    xmlns:tools="http://schemas.android.com/tools"
    android:id="@+id/activity_main"
    android:layout_width="match_parent"
    android:layout_height="match_parent"
    android:paddingBottom="@dimen/activity_vertical_margin"
    android:paddingLeft="@dimen/activity_horizontal_margin"
    android:paddingRight="@dimen/activity_horizontal_margin"
    android:paddingTop="@dimen/activity_vertical_margin"
    tools:context="com.questdot.animationexample.MainActivity">

    <Button
        android:text="Shared Elements"
        android:layout_width="wrap_content"
        android:layout_height="wrap_content"
        android:id="@+id/btnShared"
        android:layout_below="@+id/btnTransition"
        android:layout_alignParentLeft="true"
        android:layout_alignParentStart="true"
        android:layout_alignParentRight="true"
        android:layout_alignParentEnd="true" />

    <Button
        android:text="View Animations"
        android:layout_width="wrap_content"
        android:layout_height="wrap_content"
        android:id="@+id/btnViewAnimation"
        android:layout_below="@+id/btnShared"
        android:layout_alignParentLeft="true"
        android:layout_alignParentStart="true"
        android:layout_alignParentRight="true"
        android:layout_alignParentEnd="true" />

    <Button
        android:text="Transitions"
        android:layout_width="wrap_content"
        android:layout_height="wrap_content"
        android:id="@+id/btnTransition"
        android:layout_alignParentTop="true"
        android:layout_alignParentLeft="true"
        android:layout_alignParentStart="true"
        android:layout_alignParentRight="true"
        android:layout_alignParentEnd="true" />

    <ImageView
        android:layout_width="wrap_content"
        android:layout_height="wrap_content"
        app:srcCompat="@mipmap/ic_launcher"
        android:id="@+id/imageView"
        android:transitionName="Transition"
        android:layout_alignParentBottom="true"
        android:layout_centerHorizontal="true" />
</RelativeLayout>
Create animation folder
Right click res > new > Android resource directory > pick resource type “anim” and click OK buttons. The new resource folder will be created.
Add new slide in animations file
Create a new xml file “slidein.xml” in the anim folder. And add the following source code.
<?xml version="1.0" encoding="utf-8"?>
<translate
    xmlns:android="http://schemas.android.com/apk/res/android"
    android:duration="@android:integer/config_longAnimTime"
    android:fromXDelta="100%p"
    android:toXDelta="0%p">
</translate>
Add new slide out animations file
Create a new xml file “slideout.xml” in the anim folder. And add the following source code.
<?xml version="1.0" encoding="utf-8"?>
<translate
    xmlns:android="http://schemas.android.com/apk/res/android"
    android:duration="@android:integer/config_longAnimTime"
    android:fromXDelta="0%p"
    android:toXDelta="-100%p">
</translate>
Add animation file for image
This xml file name “imageanimation.xml” and It will perform enlarge image animation.
<?xml version="1.0" encoding="utf-8"?>
<set
    xmlns:android="http://schemas.android.com/apk/res/android"
    android:fillAfter="true"
    >
    <scale

        android:fromXScale="1.0"
        android:toXScale="2.0"
        android:fromYScale="1.0"
        android:toYScale="2.0"
        android:pivotX="50%"
        android:pivotY="50%"

        android:duration="500" />


</set>
Edit TransitionActivity.java class
Go to transitionAcitivty.java and add overridependingtransition in the onCreate and onPause method. This will use slidein and slideout animation.
public class TransitionActivity extends AppCompatActivity {

    @Override
    protected void onCreate(Bundle savedInstanceState) {
        super.onCreate(savedInstanceState);
       // overridePendingTransition(R.anim.fadein, R.anim.fadeout);
        overridePendingTransition(R.anim.slidein, R.anim.slideout);
        setContentView(R.layout.activity_transition);

    }

    @Override
    protected void onPause() {
        super.onPause();
      //  overridePendingTransition(R.anim.fadein, R.anim.fadeout);
        overridePendingTransition(R.anim.slidein, R.anim.slideout);
    }
}
Edit ViewAnimation.java class
This class perform the animation from the “imageanimation.xml”.
public class ViewAnimationActivity extends AppCompatActivity implements Animation.AnimationListener {

    ImageView imageView;

    @Override
    protected void onCreate(Bundle savedInstanceState) {
        super.onCreate(savedInstanceState);
        setContentView(R.layout.activity_view_animation);

        imageView =(ImageView)findViewById(R.id.imageView);


        Animation animation = AnimationUtils.loadAnimation(this, R.anim.imageanimation);
        animation.setAnimationListener(this);
        imageView.startAnimation(animation);
    }

    @Override
    public void onAnimationStart(Animation animation) {

    }

    @Override
    public void onAnimationEnd(Animation animation) {

    }

    @Override
    public void onAnimationRepeat(Animation animation) {

    }
}
<br>
Edit MainActivity.class java
Modify to the source code below. It will link to another activity for each button with different animation effect.
public class MainActivity extends AppCompatActivity {

    Button btnShared,btnTransition,btnView;

    ImageView imageView;

    @Override
    protected void onCreate(Bundle savedInstanceState) {
        super.onCreate(savedInstanceState);

        setContentView(R.layout.activity_main);


        btnShared= (Button)findViewById(R.id.btnShared);
        btnTransition= (Button)findViewById(R.id.btnTransition);
        btnView= (Button)findViewById(R.id.btnViewAnimation);
        imageView= (ImageView)findViewById(R.id.imageView);


        btnShared.setOnClickListener(new View.OnClickListener() {
            @Override
            public void onClick(View view) {
                Intent intent = new Intent(MainActivity.this,SharedElementActivity.class);
                Bundle bundle = null;
                if (android.os.Build.VERSION.SDK_INT >= android.os.Build.VERSION_CODES.LOLLIPOP) {
                    bundle = ActivityOptions.makeSceneTransitionAnimation(
                            MainActivity.this,
                            imageView,
                            imageView.getTransitionName())
                            .toBundle();
                    startActivity(intent,bundle);
                }


            }
        });

        btnTransition.setOnClickListener(new View.OnClickListener() {
            @Override
            public void onClick(View view) {

                Intent intent = new Intent(MainActivity.this,TransitionActivity.class);
                startActivity(intent);

            }
        });

        btnView.setOnClickListener(new View.OnClickListener() {
            @Override
            public void onClick(View view) {
                Intent intent = new Intent(MainActivity.this,ViewAnimationActivity.class);
                startActivity(intent);
            }
        });
    }


}
Run Your Project
In conclusion, you now finish to implements some simple animation in the android application. Run your project in your emulator now.