Android Capture and Select Image From Gallery Tutorial

Sometime we need to get the image from the user when they are using our mobile application. How we can get the image from the user? The first method is we can let the user capture the image and use it in our mobile application. The second method is user can select the image they like from the gallery in their smartphone. To implements those features are not very hard, you just need to do some practices. In this tutorial, I will guiding you use the android capture and select image from gallery so you can understand how its happen.
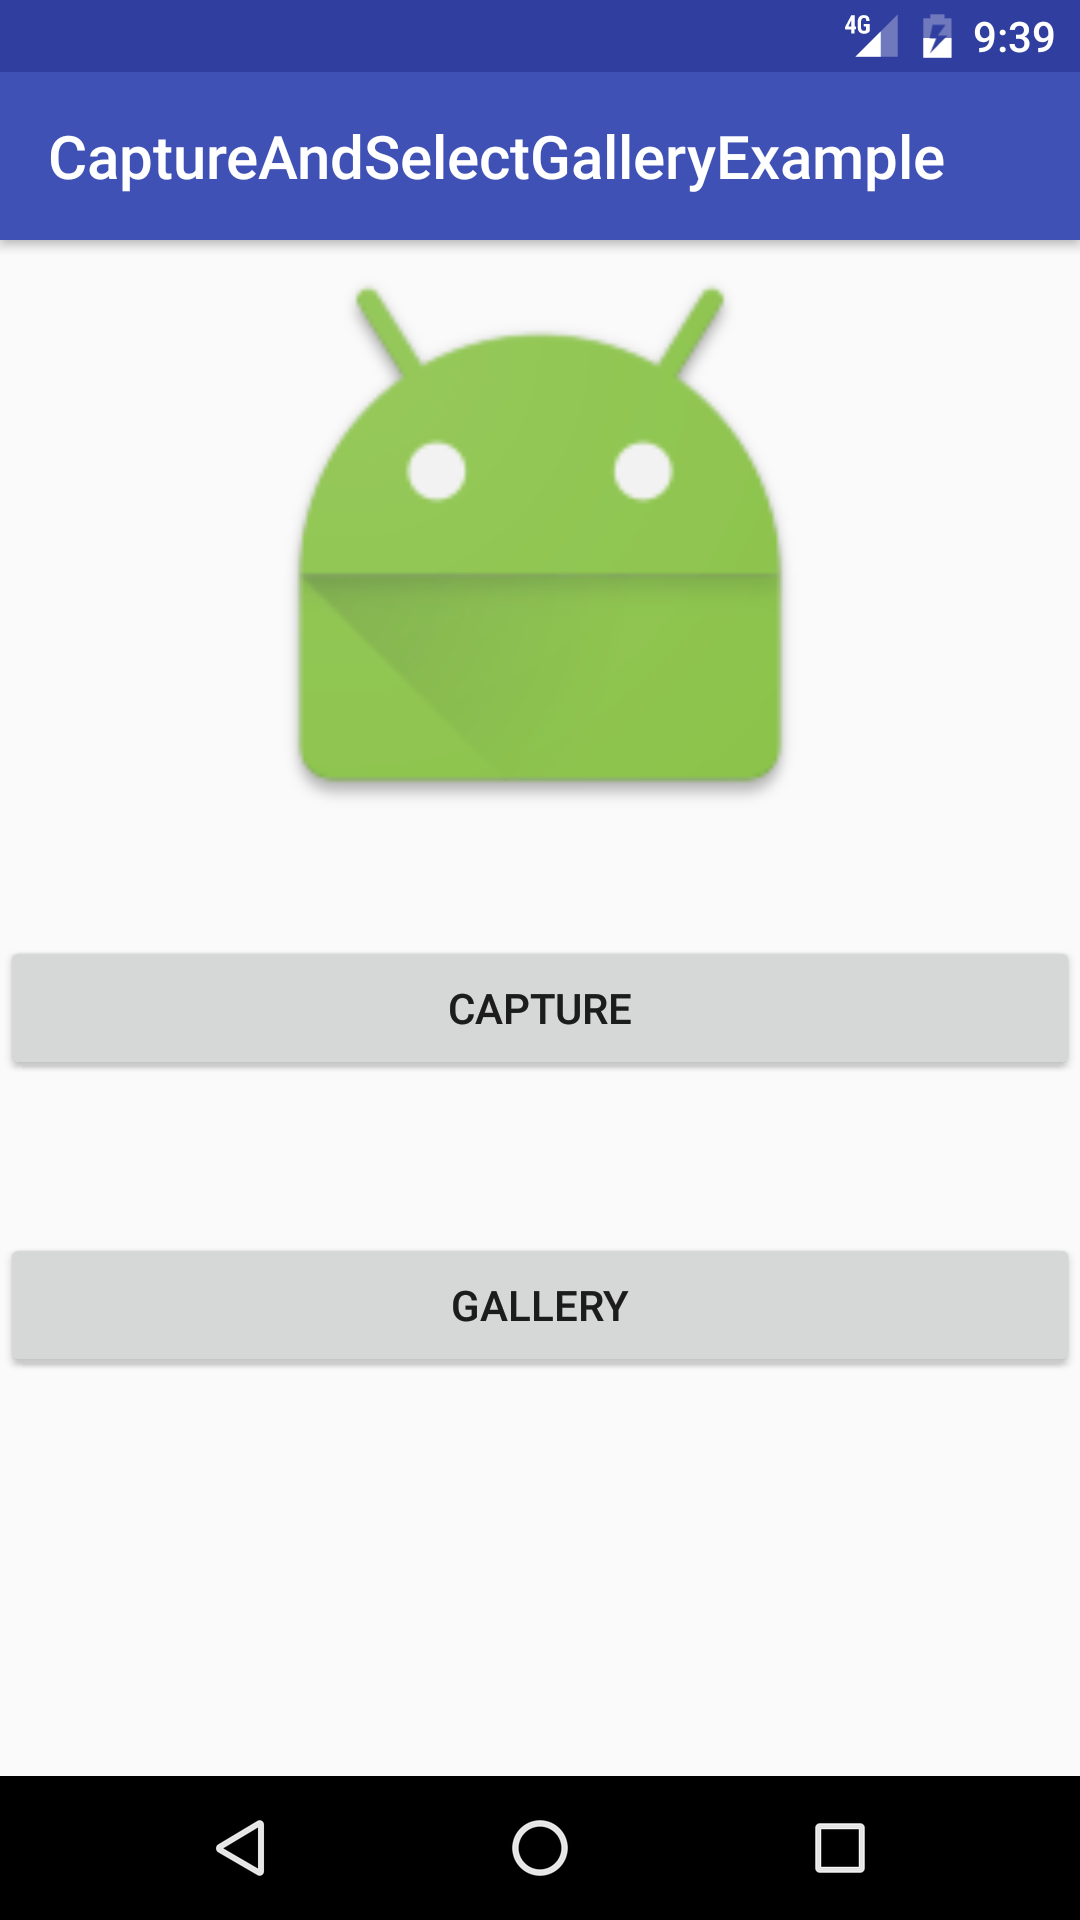
Sample Screen
Creating a New Project
1. Open Android Studio IDE in your computer.
2. Create a new project and Edit the Application name to “CaptureAndSelectGalleryExample”.
(Optional) You can edit the company domain or select the suitable location for current project tutorial. Then click next button to proceed.
3. Select Minimum SDK (API 15:Android 4.0.3 (IceCreamSandwich). I choose the API 15 because many android devices currently are support more than API 15. Click Next button.
4. Choose “Empty Activity” and Click Next button
5. Lastly, press finish button.
Add new permission and feature
Navigate to your AndroidManifest file and add the camera feature and write external storage permissions.
<uses-feature android:name="android.hardware.camera"></uses-feature>
<uses-permission android:name="android.permission.WRITE_EXTERNAL_STORAGE" />
Edit activity_main.xml layout
Go to your activity.main.xml file and copy the sample code in the bottom. I will add two buttons for select image and capture image.
<?xml version="1.0" encoding="utf-8"?>
<RelativeLayout xmlns:android="http://schemas.android.com/apk/res/android"

    android:layout_width="fill_parent"
    android:layout_height="fill_parent"
    >


    <ImageView
        android:id="@+id/image"
        android:scaleType="fitXY"
        android:src="@mipmap/ic_launcher"
        android:layout_alignParentTop="true"
        android:layout_centerHorizontal="true"
        android:layout_width="200dp"
        android:layout_height="200dp"></ImageView>

    <Button android:id="@+id/btnCapture" android:layout_width="wrap_content" android:layout_height="wrap_content" android:text="Capture"
        android:layout_centerVertical="true"
        android:layout_alignParentLeft="true"
        android:layout_alignParentStart="true"
        android:layout_alignParentRight="true"
        android:layout_alignParentEnd="true"></Button>

    <Button
        android:text="Gallery"
        android:layout_width="wrap_content"
        android:layout_height="wrap_content"
        android:layout_marginTop="51dp"
        android:id="@+id/btnGallery"
        android:layout_below="@+id/btnCapture"
        android:layout_alignParentRight="true"
        android:layout_alignParentEnd="true"
        android:layout_alignParentLeft="true"
        android:layout_alignParentStart="true" />

</RelativeLayout>
Edit MainActivity.java class
Modify your mainactivity class to implement the capture and select image ,after it will display in the imageview.
public class MainActivity extends AppCompatActivity {

    private static final int CAMERA_REQUEST = 1;
    private static final int RESULT_LOAD_IMAGE = 2;
    private ImageView imageView;
    Button btnCapture;
    Button btnGallery;

    @Override
    public void onCreate(Bundle savedInstanceState) {
        super.onCreate(savedInstanceState);
        setContentView(R.layout.activity_main);
        imageView = (ImageView)findViewById(R.id.image);
        btnCapture = (Button) findViewById(R.id.btnCapture);
        btnCapture.setOnClickListener(new View.OnClickListener() {

            @Override
            public void onClick(View v) {
                Intent cameraIntent = new Intent(android.provider.MediaStore.ACTION_IMAGE_CAPTURE);
                startActivityForResult(cameraIntent, CAMERA_REQUEST);
            }
        });

        btnGallery = (Button) findViewById(R.id.btnGallery);
        btnGallery.setOnClickListener(new View.OnClickListener() {

            @Override
            public void onClick(View v) {
                Intent intent = new Intent();
                intent.setType("image/*");
                intent.setAction(Intent.ACTION_GET_CONTENT);
                startActivityForResult(Intent.createChooser(intent,
                        "Select Picture"), RESULT_LOAD_IMAGE);
            }
        });
    }

    protected void onActivityResult(int requestCode, int resultCode, Intent data) {
        if (requestCode == CAMERA_REQUEST && resultCode == Activity.RESULT_OK) {
            Uri imageUri = data.getData();
            imageView.setImageURI(imageUri);
        }
        else if (requestCode == RESULT_LOAD_IMAGE && resultCode == RESULT_OK && null != data) {
            Uri imageUri = data.getData();
            imageView.setImageURI(imageUri);

        }
    }


}
Run Your Project
In Conclusion, you can now open this project and get started to capture and get image from your device.